The Ultimate Guide to Hair Extensions
Are you dreaming of longer, fuller, and more voluminous hair? Look no further than hair extensions! Whether you’re preparing for a special occasion or simply want to enhance your everyday look, hair extensions can be a game-changer. In this comprehensive guide, we will walk you through everything you need to know about hair extensions and the different application methods available. Get ready to discover the secrets to achieving flawless, luscious locks!
1.Understanding Hair Extensions:
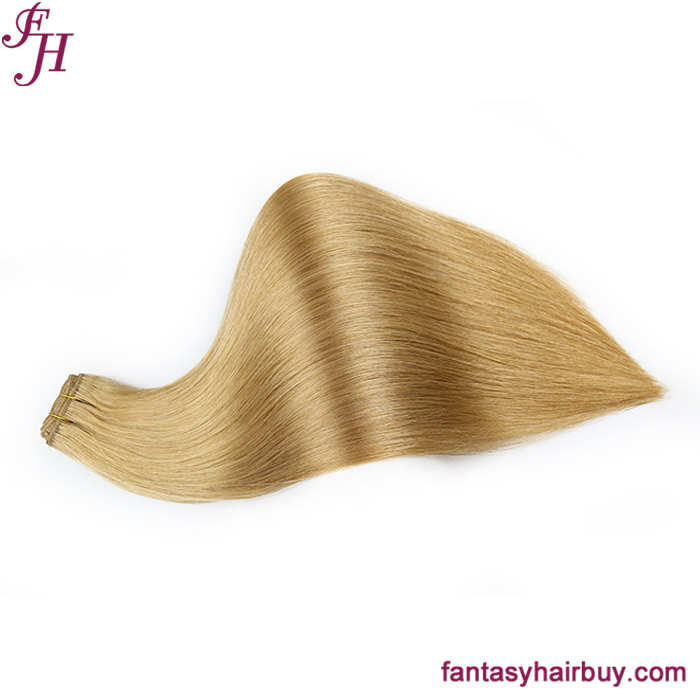
Hair extensions are a versatile solution for adding length, volume, or both to your natural hair. They come in various types, including clip-in, tape-in, fusion, and sew-in extensions. Each method offers unique benefits and considerations, allowing you to choose the one that suits your needs and lifestyle.
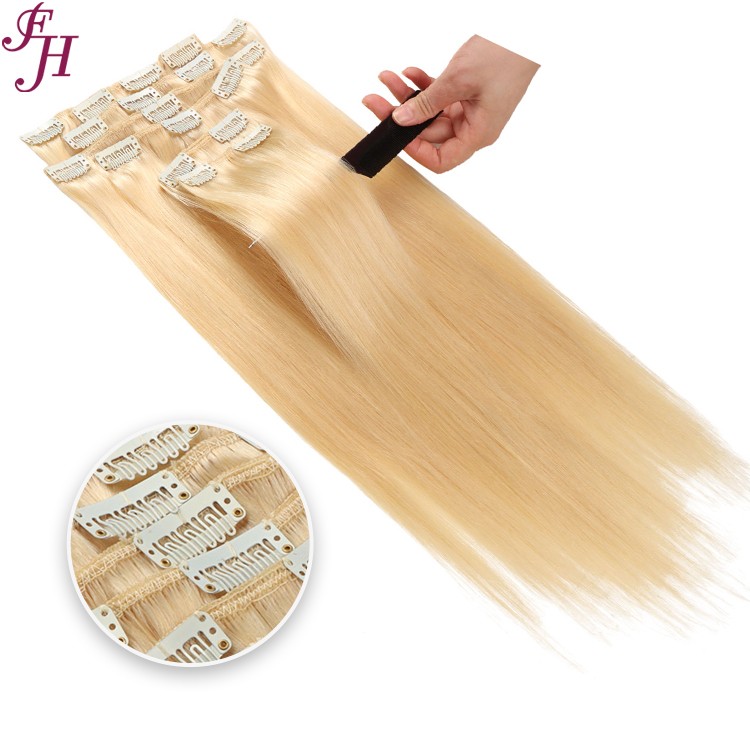
2.Clip-In Extensions:
Clip-in extensions are perfect for those who desire temporary and customizable results. Here’s how to put in clip-in extensions:
- Start by sectioning your hair horizontally, leaving a layer at the nape of your neck.
- Tease the roots of this section to create a sturdy base for the clips.
- Attach the largest weft of the clip-in extension to the teased section, clipping it close to the roots.
- Repeat the process with smaller wefts, working your way up to the crown of your head.
- Blend your natural hair with the extensions by gently combing or brushing them together.
- Style as desired and voila! You have instant length and volume.

3.Tape-In Extensions:
Tape-in extensions offer a semi-permanent solution with minimal maintenance. Follow these steps to apply tape-in extensions:
- Section your hair horizontally, starting at the nape of your neck.
- Take a thin section of your natural hair and sandwich it between two tape-in extension wefts.
- Press the adhesive sides together, securing the extensions in place.
- Repeat the process, working your way up to the crown of your head.
- Once all extensions are applied, use a hair straightener to gently heat the tape to ensure a secure bond.
- Style your hair as desired, and enjoy seamless and natural-looking results.


4.Fusion Extensions:
Fusion extensions provide a long-lasting and natural-looking solution, best applied by a professional stylist. The process involves:
- Sectioning your hair horizontally and creating a small parting for each extension.
- Using a hot fusion tool, apply a keratin bond to the natural hair near the roots.
- Attach the extension to the bond and use the fusion tool to melt the bond, securing the extension in place.
- Continue the process until all extensions are applied, ensuring even distribution and a seamless blend.
- Once the extensions are in place, style your hair as desired and enjoy the beautiful transformation.
30 inch u tip keratin bond hair extension

5.Sew-In Extensions:
Sew-in extensions offer a secure and long-lasting solution, also recommended for professional application. The steps involved are as follows:
- Create cornrows or braids close to your scalp, following the desired placement of the extensions.
- Use a needle and thread to sew the wefts of the extensions onto the braids.
- Repeat the process for each weft, ensuring a tight and secure attachment.
- Once all extensions are sewn in, blend your natural hair with the extensions using a comb or brush.
- Style your hair to achieve the desired look, and get ready to flaunt your fabulous new hair.
Conclusion:
Now that you’ve learned about the different application methods for hair extensions, you can confidently embark on your journey to stunning, voluminous hair. Whether you choose clip-in, tape-in, fusion, or sew-in extensions, each method has its own unique benefits and considerations. Remember, professional application is recommended for fusion and sew-in extensions to ensure optimal results and minimize damage to your natural hair. Visit our website to explore our high-quality hair extensions and transform your hair effortlessly. Get ready to turn heads with your luxurious and enviable locks!